Running Python and R within Jupyter Lab from Remote Server
Powerful conda virtual environment
Recently, I started converting from R to Python as I found out that more and more my daily data analysis could be smoothly handled by Python, especially when the data size is getting huge and requiring considerable computing power. I could fully utilise the computing power from remote servers by running Python on them. During the learning process, I learned about Jupyter Lab and impressed by its clean and simple design. This is the tool I really enjoy using for data analysis. It allows me to transfer between Python and R seamlessly. I believe if you end up reading this article, you must be a fan of it and want to take full use of it.
Here, I want to share my notes when using Jupyter Lab on server. As implied in the title, there are two parts in this article:
- Creating conda environment for R and Python
- Running R and Python within Jupyter Lab remotely
And I assume you already have knowledge in using remote server/HPC/clusters (I will call “server” in the following context). Before we begin, please make sure you have conda or miniconda installed on the server. Basically, Anaconda is a software package manager that helps us to install programs and packages. Most importantly, it can also create compartmentalised computational environments to avoid mess-up in your computer/server when you want to test some new tools or scripts. You can use these conda environments for different purposes, they can be program-specific (for running specific tools) or project-specific (for storing dependencies for a whole pipeline).
Creating conda environment for R and Python
First, we can check the virtual environments that have been created by typing:
conda info --envs
All the conda environments have been created on the server should be listed. An asterisk will denote where you currently are, likely ‘base’. In addition, your command line will be preceded with ‘(base)’ to denote you are in the base conda environment. Something like this:
(base) jun@server:~$
Next, I generated a specific R environment for R v3.5.1 (most recent version is R v3.6.1, but some of the packages I am using are not compatible with latest version).
conda create --name r_3.5.1 -c r r-base=3.5.1 r-essentials
Here I named the env as r_3.5.1 so that I know what this specific env is create for. It is a good habit to use informative name, otherwise you may forget its content when come back from a holiday. Conda then installed r-base v3.5.1 and r essential packages from r channel in env r_3.5.1. The packages include most commonly used r packages, like ggplot2 and tidyverse.
This took several minutes to finish, and you will see the following message:
Preparing transaction: done
Verifying transaction: done
Executing transaction: done
#
# To activate this environment, use
#
#     $ conda activate r_3.5.1
#
# To deactivate an active environment, use
#
#     $ conda deactivate
Done. we now create a virtual environment specifically for R (v3.5.1). Let’s try it by typing:
conda activate r_3.5.1
You will notice the command line will be preceded with (r_3.5.1). This indicates that we are now in the r_3.5.1 environment. Then if you type R, you expect to see:
R version 3.5.1 (2018-07-02) -- "Feather Spray"
Copyright (C) 2018 The R Foundation for Statistical Computing
Platform: x86_64-apple-darwin13.4.0 (64-bit)
This tells us that R is running and it is the correct version we required.
Type q() to exit from R console. Then type python and you will find that python is also installed.
Python 3.7.5 (default, Oct 25 2019, 15:51:11)
[GCC 7.3.0] :: Anaconda, Inc. on linux
Type "help", "copyright", "credits" or "license" for more information.
Type exit() to exit from python console.
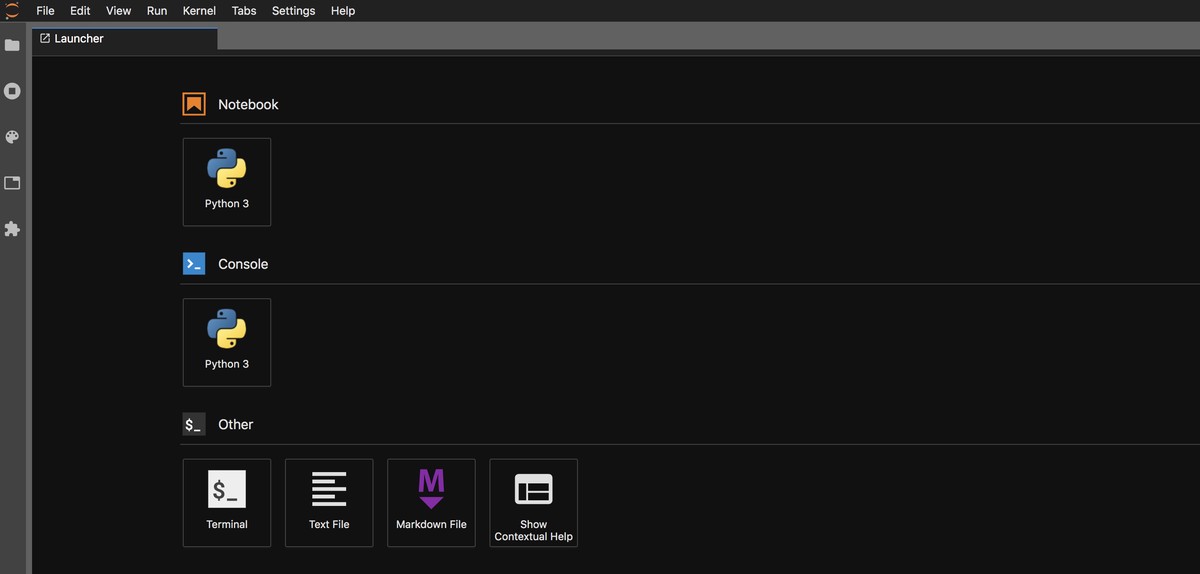
Now we have both R and python installed in a virtual environment. We can now install jupyterlab (note that Jupyter notebook for R is included in the r-essential package, but we use Jupyterlab in this post. The same settings can be applied to Jupyter notebook as well)
conda install -n r_3.5.1 -c conda-forge jupyterlab
This code tells conda to install jupyterlab from conda-forge channel for env r_3.5.1. To lunch jupyterlab, type:
jupyter-lab --no-browser
This will prompt messages like this:
from jupyter_client.session import Session
[I 20:13:55.211 LabApp] JupyterLab extension loaded from /srv/home/jun/.conda/envs/r_3.5.1/lib/python3.7/site-packages/jupyterlab
[I 20:13:55.211 LabApp] JupyterLab application directory is /srv/home/jun/.conda/envs/r_3.5.1/share/jupyter/lab
[I 20:13:55.214 LabApp] Serving notebooks from local directory: /srv/home/jun
[I 20:13:55.214 LabApp] The Jupyter Notebook is running at:
[I 20:13:55.214 LabApp] http://localhost:8888/?token=xxxxxxxxxxxxxxxxxxxxxxxxxxxxxxxxxxxxxxxxxxxxxxx
[I 20:13:55.214 LabApp] Use Control-C to stop this server and shut down all kernels (twice to skip confirmation).
This means jupyterlab is running on your virtual environment. We will need this message (http://localhost:8888/?token=xxxxxxxxxxxxxxxxxxxxxxxxxxxxxxxxxxxxxxxxxxxxxxx) for the second part of our settings. Note that the default port for Jupyter is 8888, but just in case other potential users on the same server is using this port, you may choose an arbitrary 4-digit number by typing:
jupyter-lab --no-browser --port=xxxx
to leave 8888 available. In my case, I still used 8888 as a example.
So far so good, we now finished the first part, which we have R, Python, and Jupyterlab installed in the same virtual environment.
Running R and Python within Jupyter Lab remotely
Normally when you ssh into the server with ssh -L 8888:localhost:8888 username@servername.edu.au and activate the virtual environment r_3.5.1. You can use jupyterlab by typing jupyter-lab and go to your browser typing http://localhost:8888. This will open the jupyterlab home screen in your browser window. The first time you connect with this url, a login screen will show up asking for a token. After entering the token (i.e. xxxxxxxxxxxxxxxxxxxxxxxxxxxxxxxxxxxxxxxxxxxxxxx from above), you are able to experience the jupyterlab. You can also setup your own password and use this password to connect with this url. It is pretty straightforward.
However, this is too much. There are 5 steps to complete the whole process.
Typing in ssh info → Typing password → Activate env → Load Jupyter → Open url in your browser
Can we compress all these 5 steps in one? Yes, we can.
We first need to setup an SSH key-based authentication to connect to your server without entering a password by following this post. Then on the server, we need to create a screen session for running the Jupyter by typing:
screen -R jupyterlab-session
This will attach a new screen on the server and you can detach it by pressing control+A+D, the screen will be still running in the background even after you log out the server. And next time when you log in to the same server, just type:
screen -ls
And you will see its screen ID (xxxx) and you then type:
screen -r xxxx
You will get into this screen again. I normally use this tool to run script that needs a long time to finish.
Alright, the purpose to create a screen is to have a Jupyter session running constantly on the server whether you are logged in or not. Then you can connect to the existing session whenever you need. Inside this screen session, we type:
conda activate r_3.5.1
jupyter-lab --no-browser
Let it run indefinitely. You can detach this screen by pressing control+A+D and log out.
Then on your local computer, we need to put a bash function to your local ~/.bashrc or ~/.bash_profile. If you use this make sure to edit all the all-caps stuff with your own, like USERNAME and HOSTNAME. The function is copied from this post.
function jupyter-servername {
  port=8000
  remote_username=USERNAME
  remote_hostname=HOSTNAME
  url="http://localhost:$port"
  echo "Opening $url"
  open "$url"
  cmd="ssh -CNL localhost:"$port":localhost:8888 $remote_username@$remote_hostname"
  echo "Running '$cmd'"
  eval "$cmd"
}
This function does a few things when you type jupyter-servername:
Runs ssh tunneling command if it’s not already running Grabs the Jupyter token from the remote machine Opens a tab in your browser with the right url and token for you When you’re done accessing your Jupyter Lab session, type CTRL-C and it will shut down the ssh tunnel.
In summary, with a remote screen session running Jupyter on remote server constantly, and a function defined in your local ~/.bashrc or ~/.bash_profile, all you need to do to run either R or Python within Jupyter in your browser from remote server is to type jupyter-servername in your terminal, and then control-C when you’re done.
I hope you find this post is helpful for you. I welcome feedback, constructive criticism, and hearing about your data science projects. I can be reached on Linkedin.